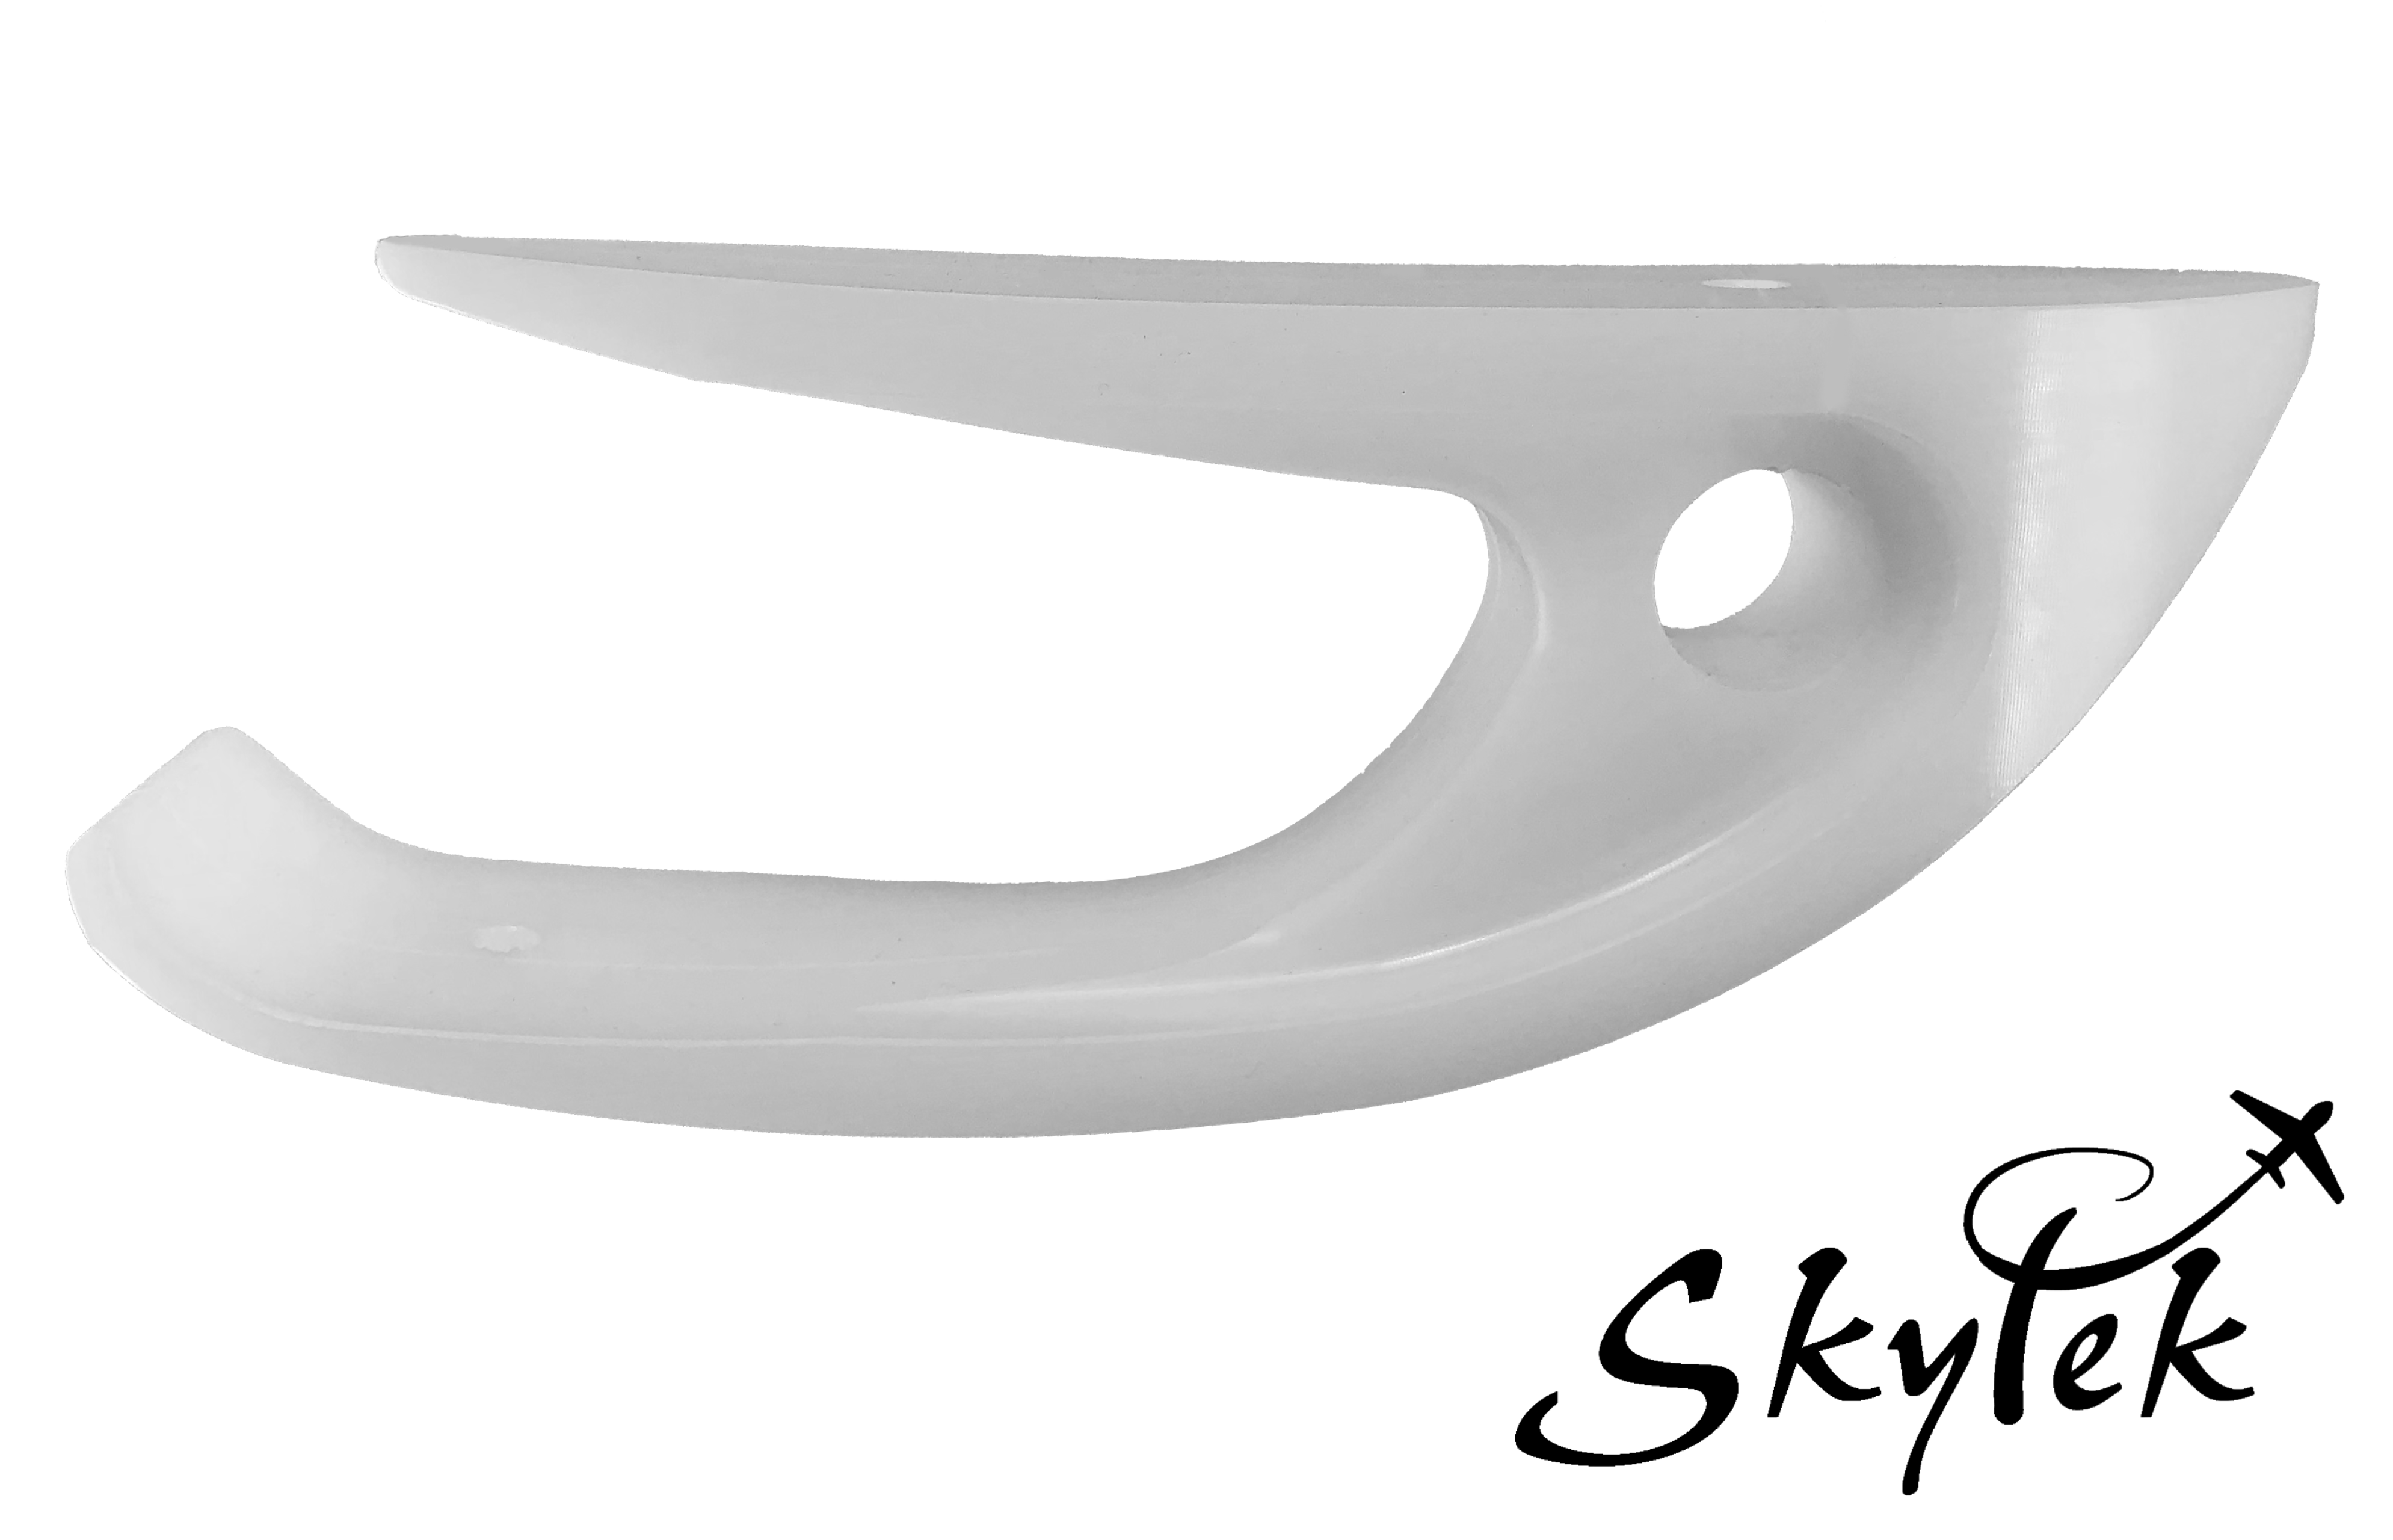

Cessna 182/205/206/207 Tail Skid Kit
SKU:
SCERT-01-182
$314.99
$314.99
per item
This product was tested on a Cessna 182 single engine aircraft in the jungles of Guyana and is currently still in use there. This product is perfect for those who's aircraft are used to its fullest capabilities in short field landing and take-offs. If you don't want your rudder bent up, this is the upgrade for you. Very strong and durable. Built in tie down loop.
Fits Cessna 182, 205, 206, and 207 aircraft.
Please Note:
This product is not certified. It is a minor modification and is signed out as such for certified aircraft.
Installation Instructions:
Step 1.
Remove existing tie down eye bolt and tail cone.
Step 2.
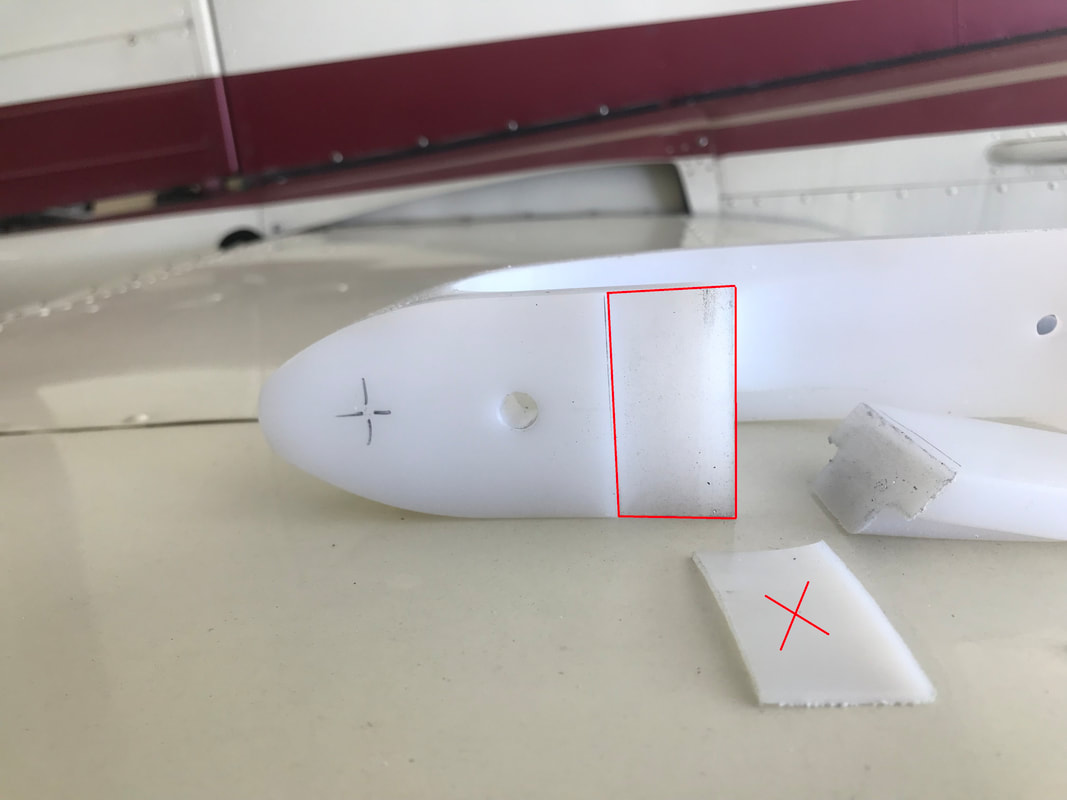
Temporarily mount Tail Skid with provided bolt and washer. Mark the top of the skid where the aft edge of the skin is and cut off as shown with the red line in the photo below.
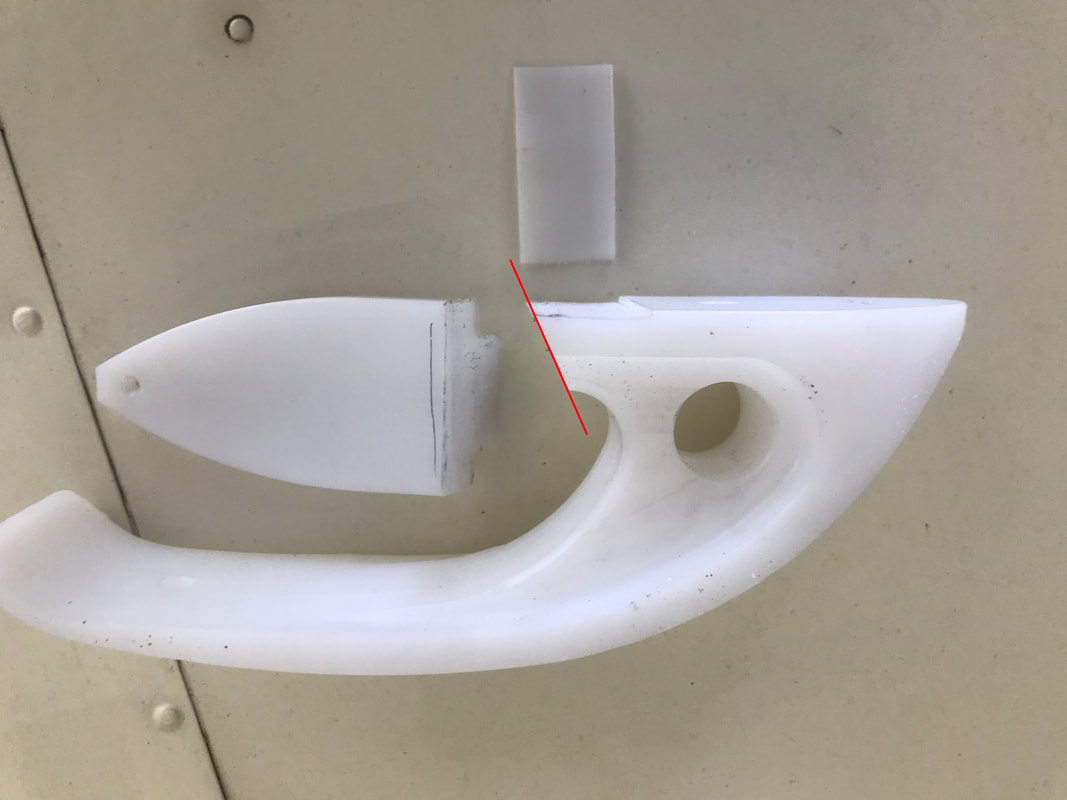
Step 3.
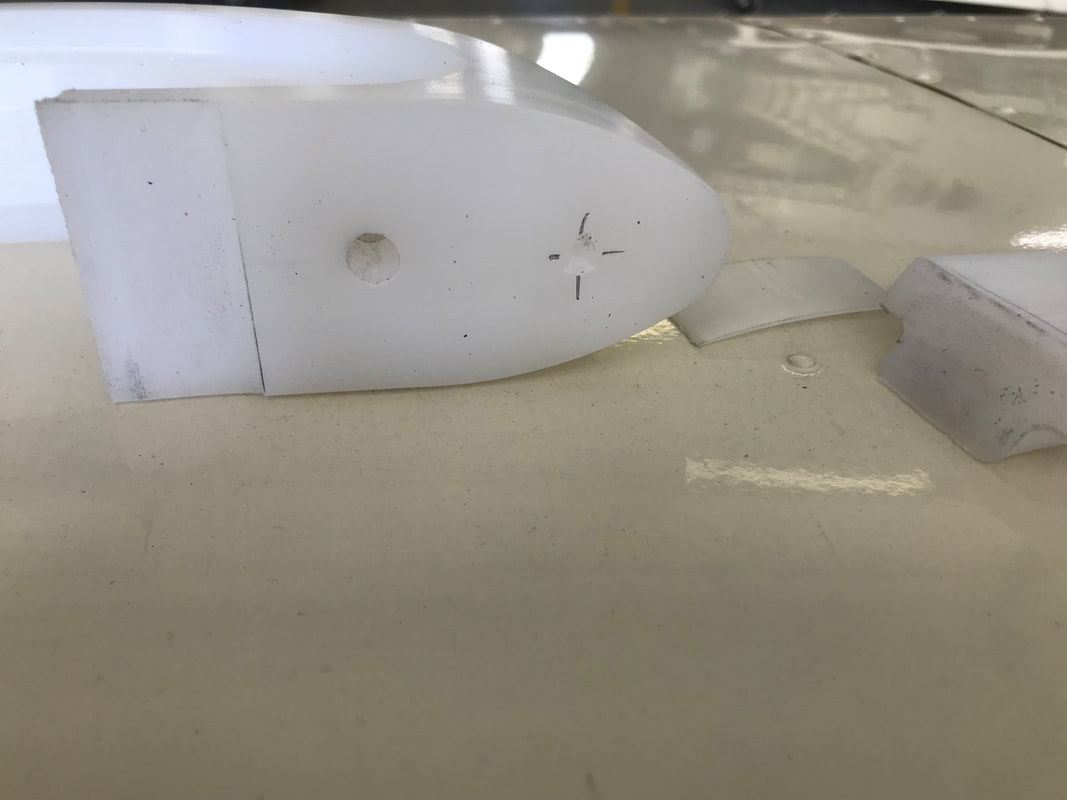
Remove the tail skid. Install the tail cone. Temporarily reinstall tail skid and mark the forward edge of the tail cone on the tail skid. The tail skid must be removed and the small sliver of material should be cut or filed off to allow enough space for the tail cone to be mounted without any pressure on it.
Step 4.
Mark on the tail skid where the forward rivet head is on the center stringer. Using a countersink, countersink the tail skid to clear the rivet head.

|
|
Step 5.
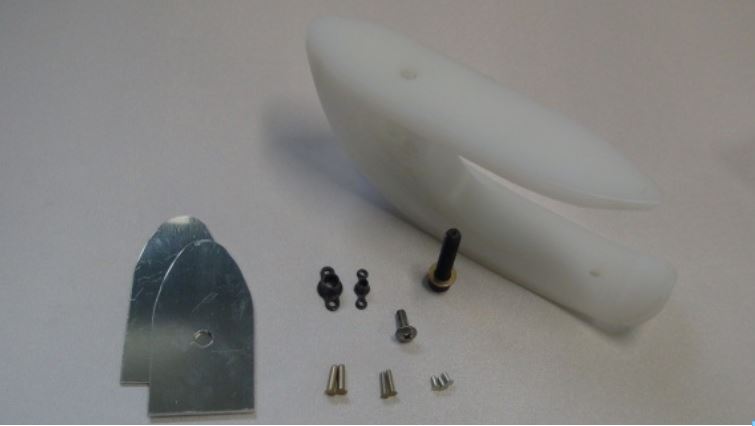
The tail skid can now be permanently installed with the provided bolt and washer. If no anchor nut is present, the existing nut can be used, or the supplied anchor nut can be installed.
NOTE:
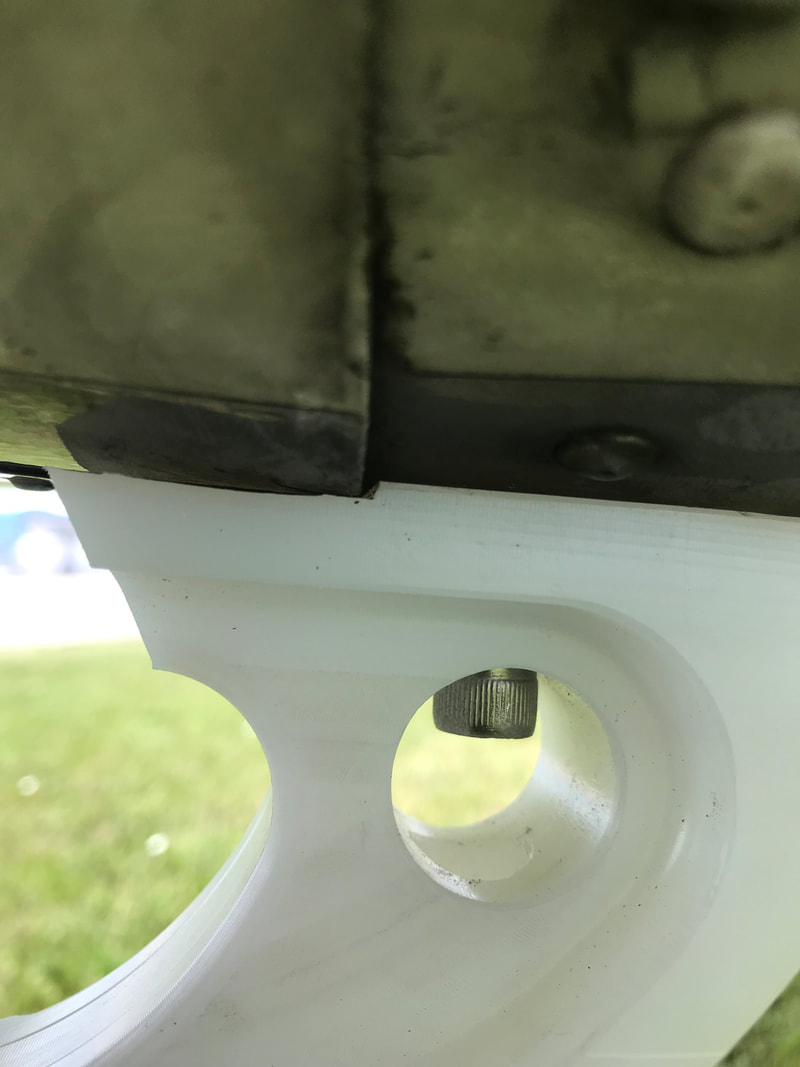
The washer can be held through the ~7/8" hole while the bolt is inserted from the bottom of the tail skid.
The washer can be held through the ~7/8" hole while the bolt is inserted from the bottom of the tail skid.
Shown with tail cone removed.
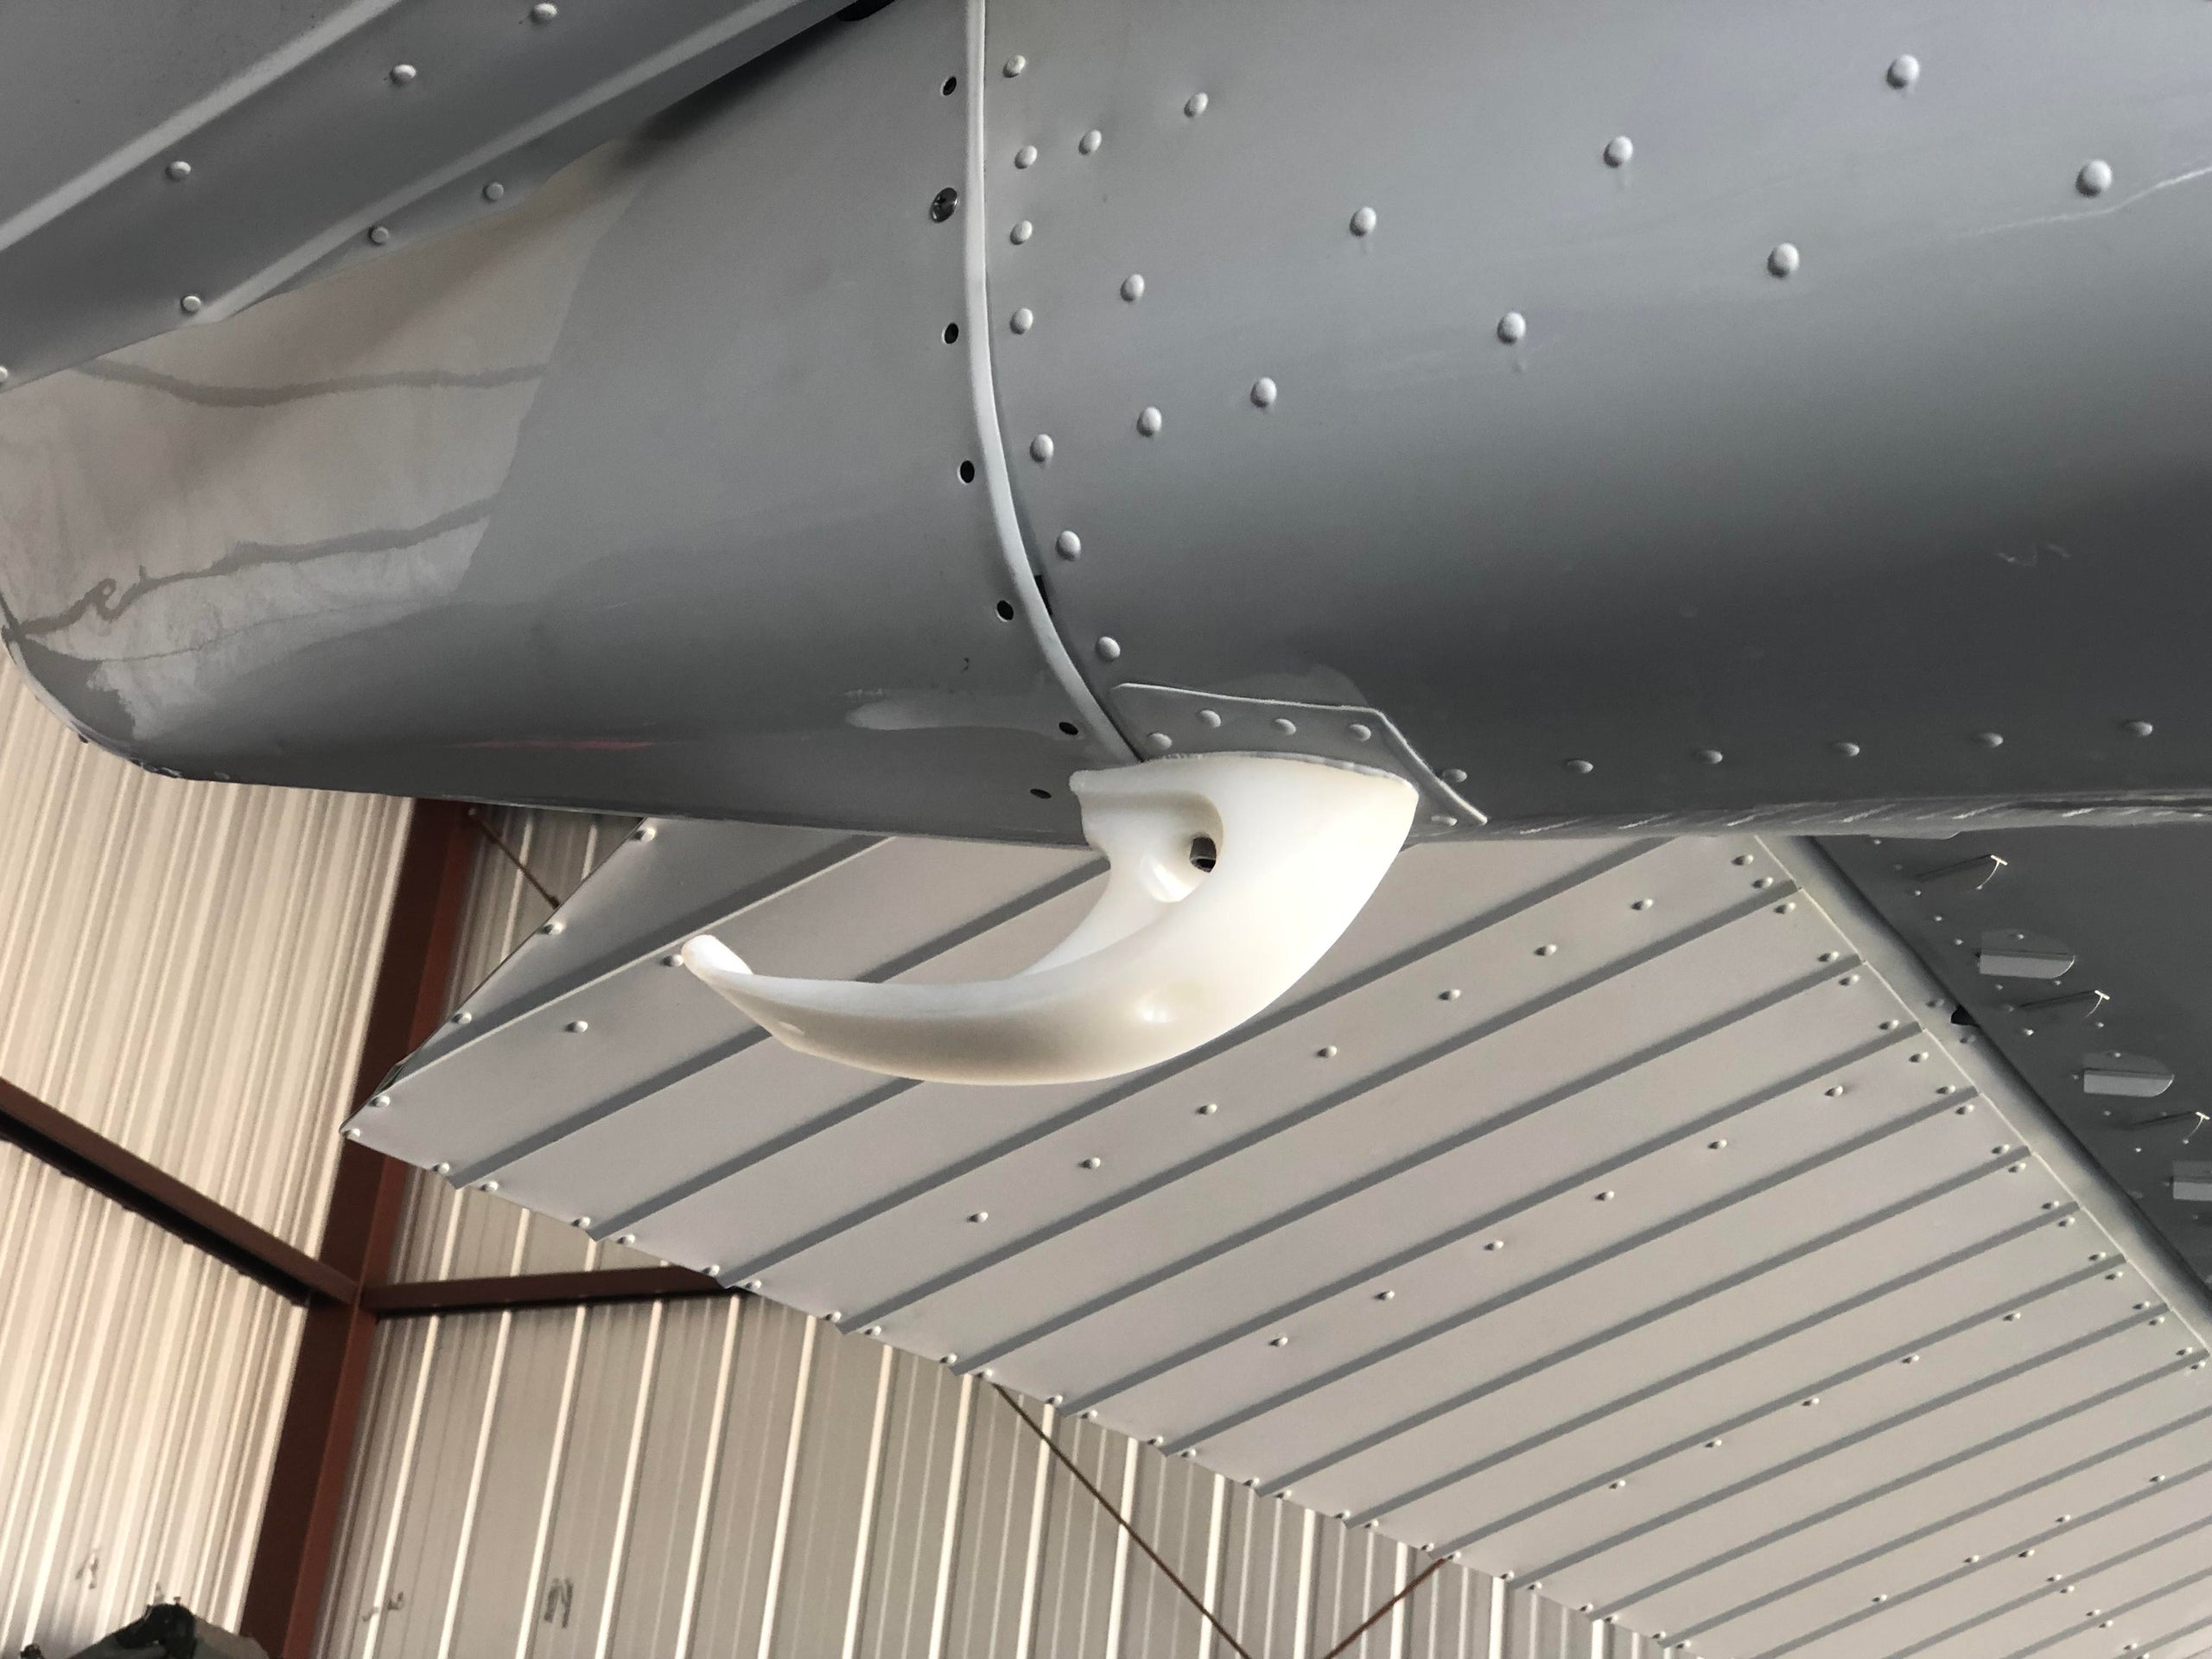
Step 6.
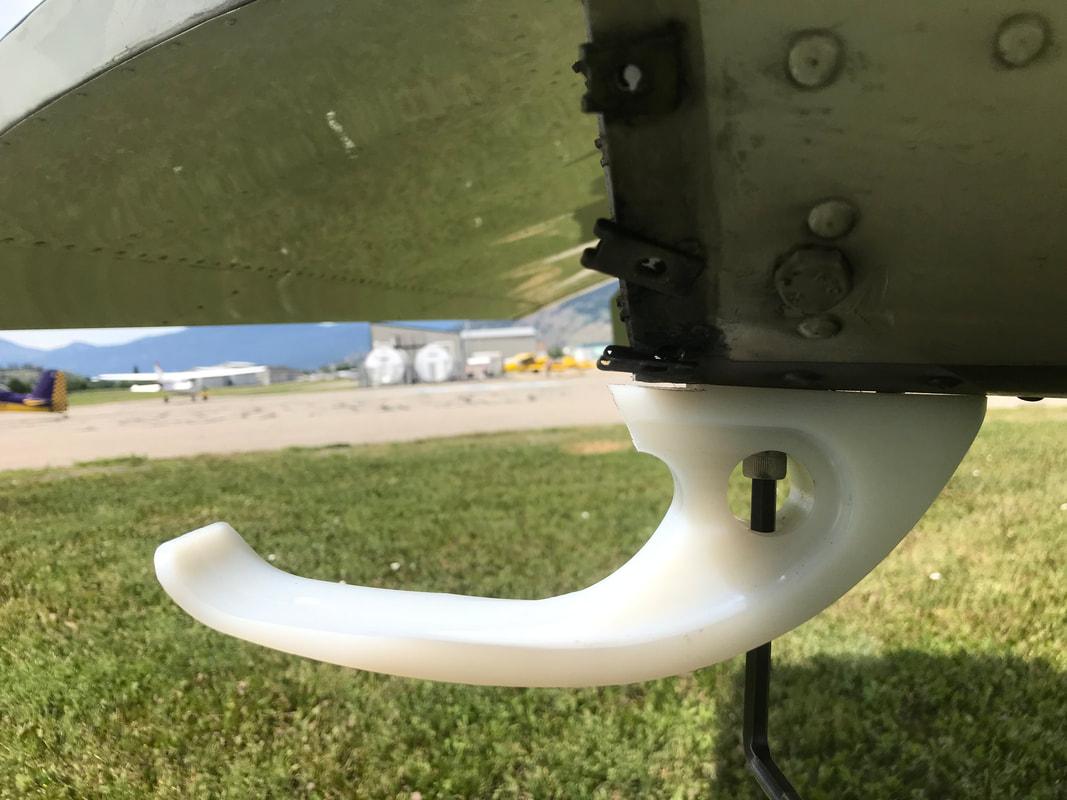
Install tail cone (if not previously installed). Here are some photos of the fully installed tail skid:


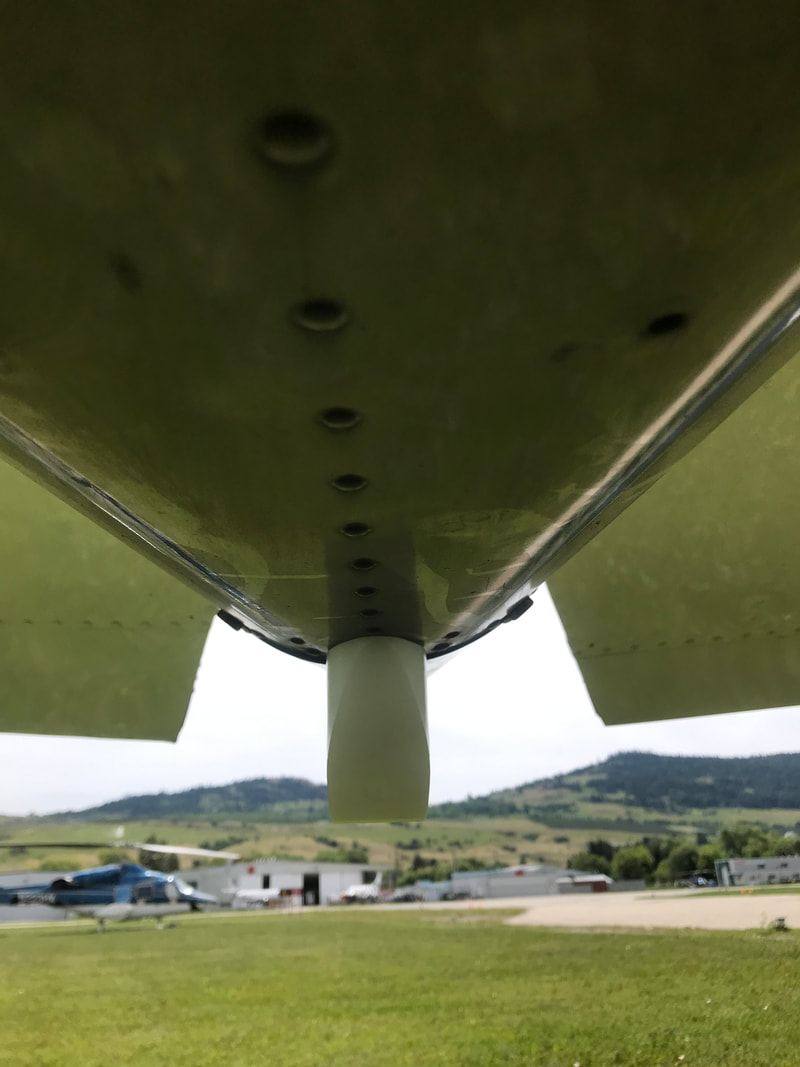
Customer Installations:
Here are a few photos sent to us by happy customers: